Printers
Follow our packing guide below to ensure your printer makes it to our facilities safely.
Step 1
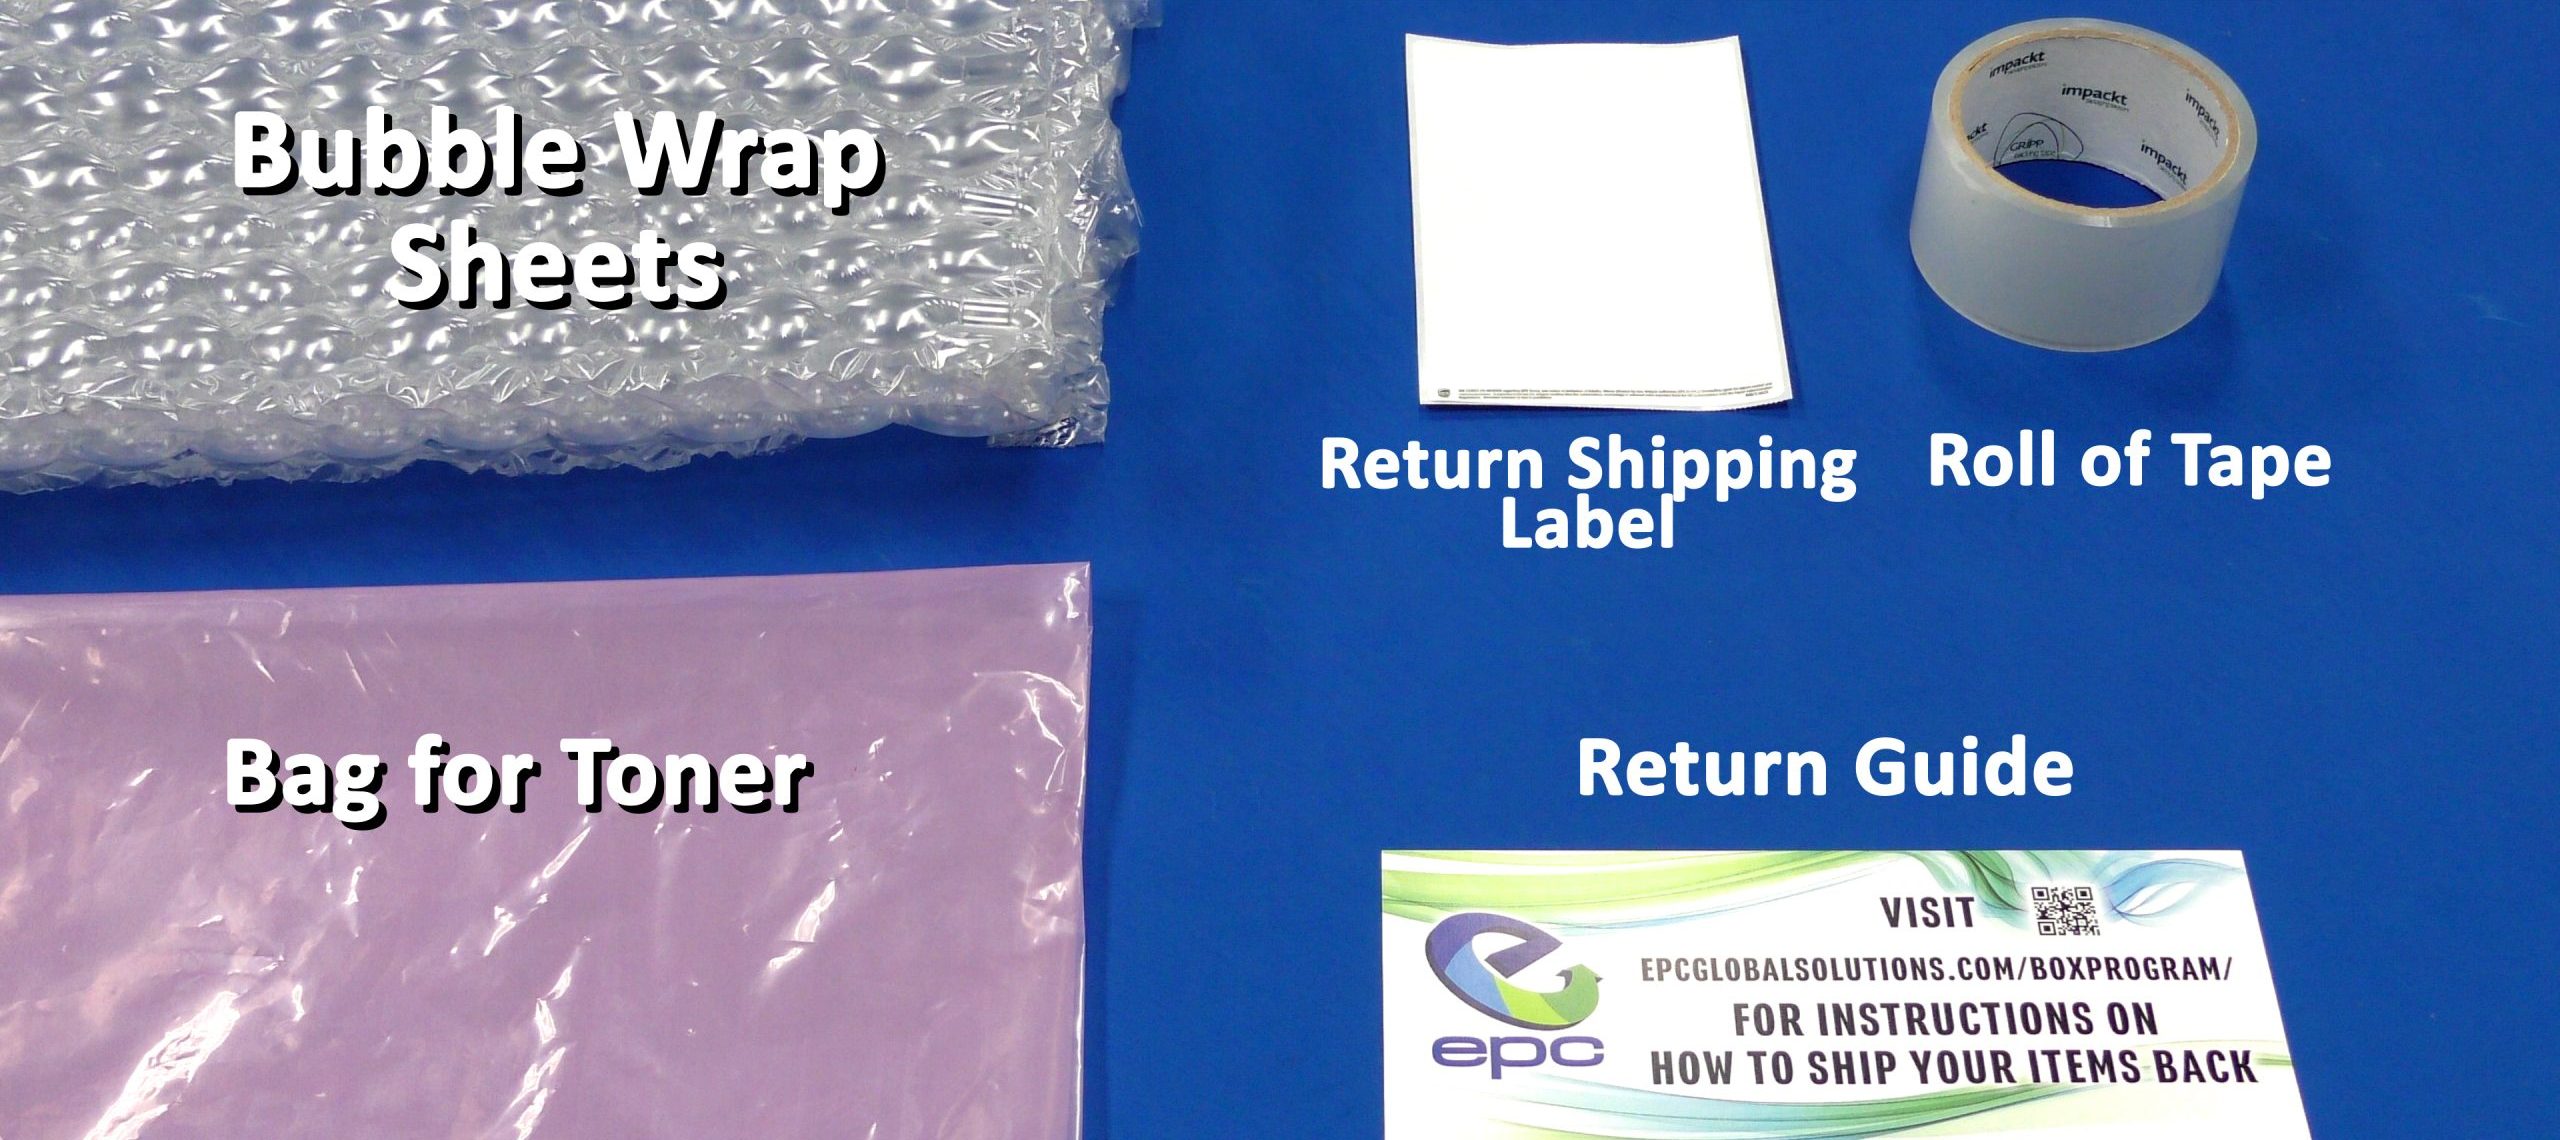
Your box should include a plastic bag for the toner, a roll of tape, sheets of bubble wrap, printed return options, and a return shipping label.
Step 2
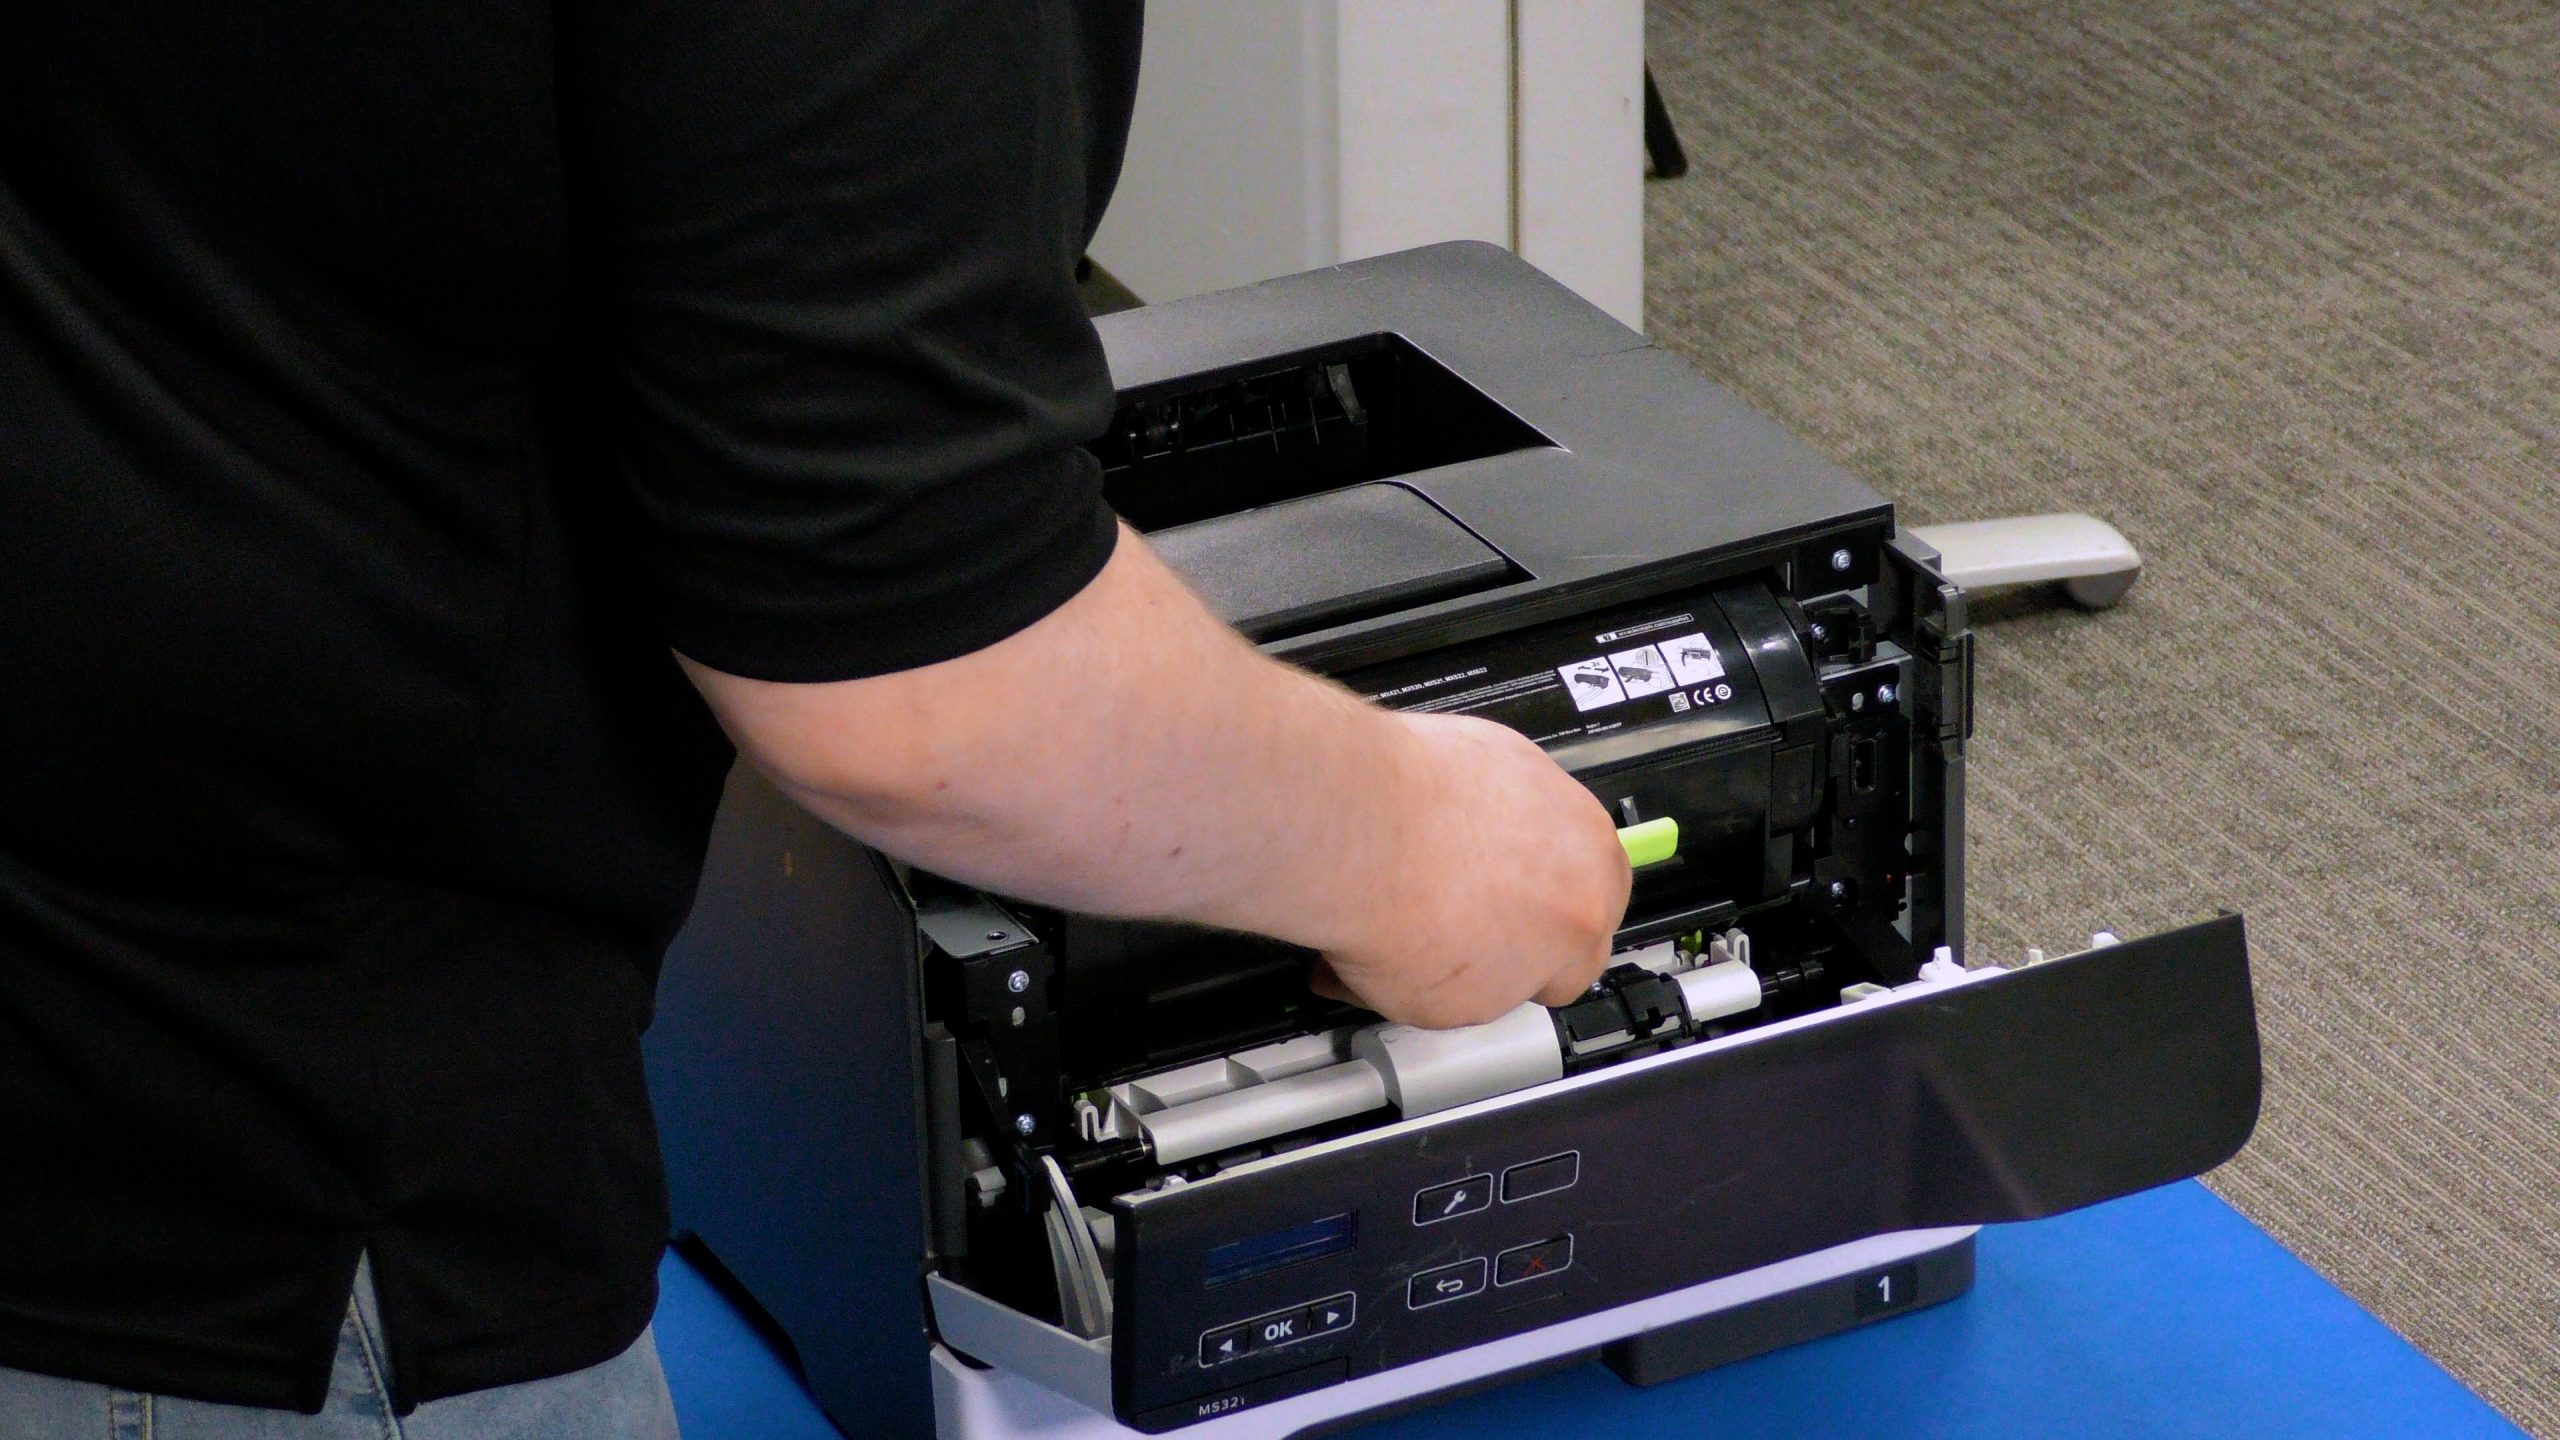
Begin by placing the printer on a flat surface. Open the printer and carefully remove the toner cartridge and place it in the plastic bag provided. All laser printers should have toner removed and packaged separately prior to shipping.
Step 3
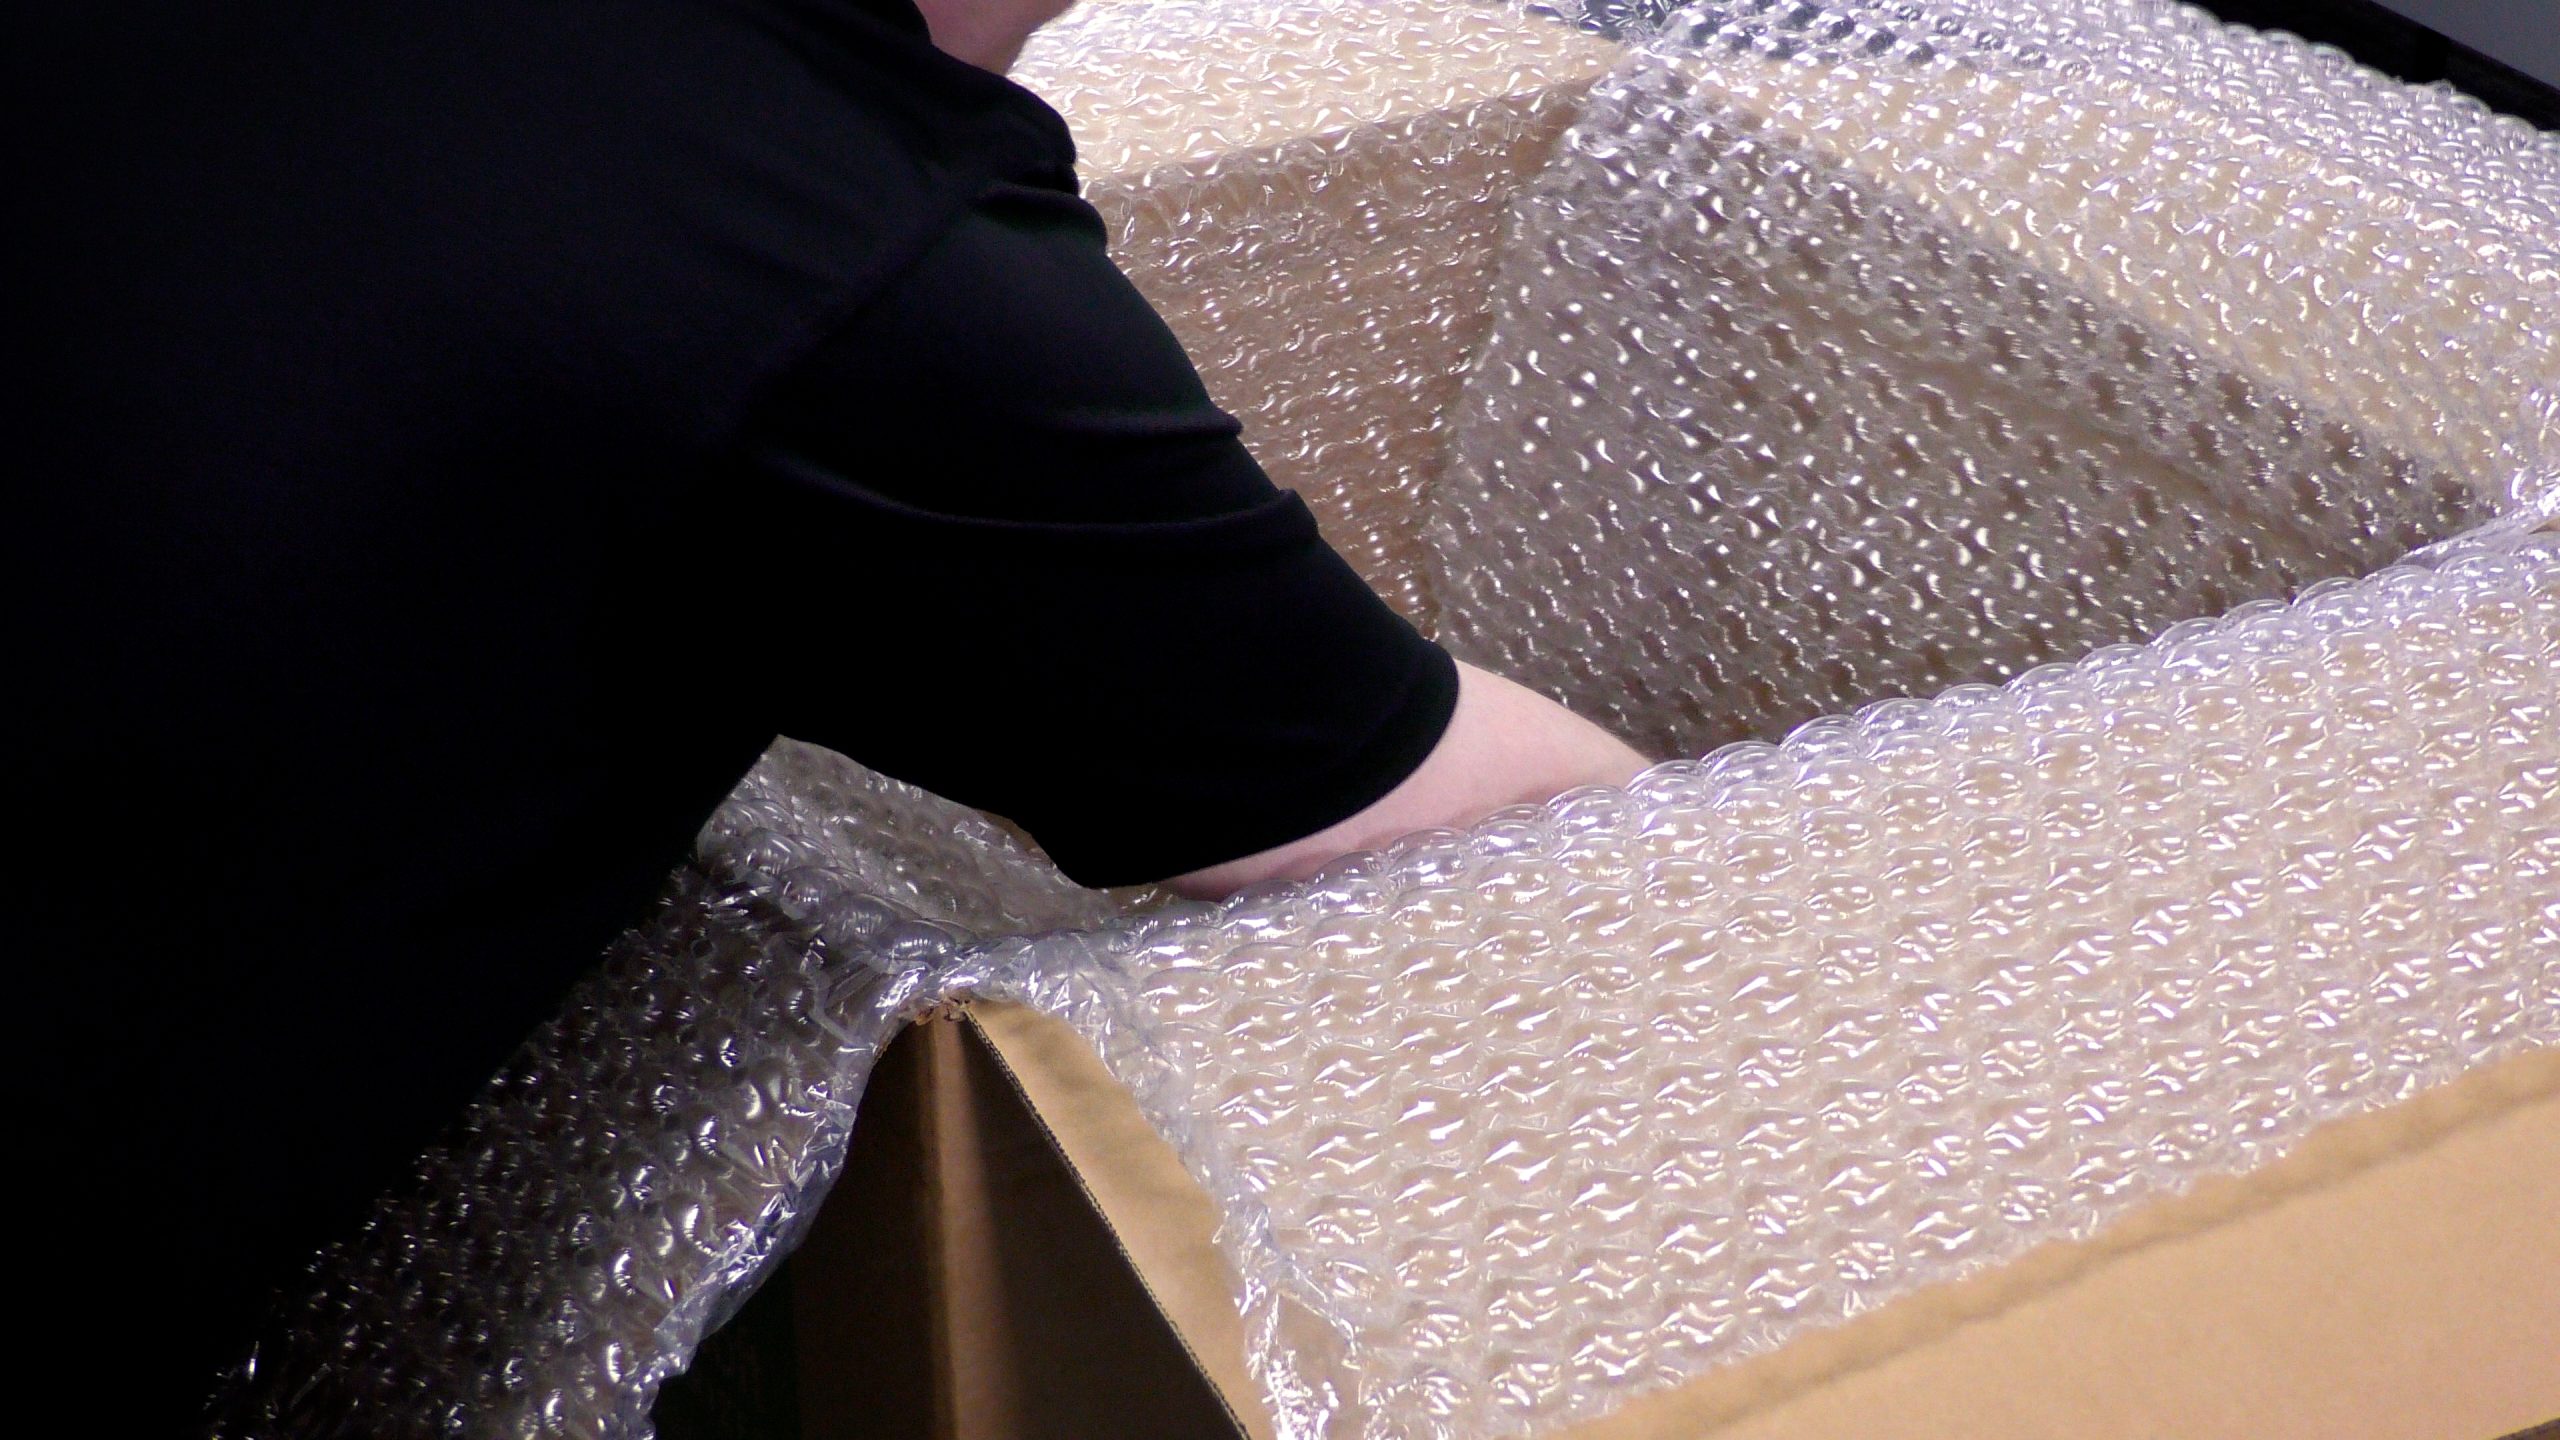
Line pieces of bubble wrap across the bottom and sides of the provided box, creating a large plus sign. You will also have extra bubble wrap sheets to use later.
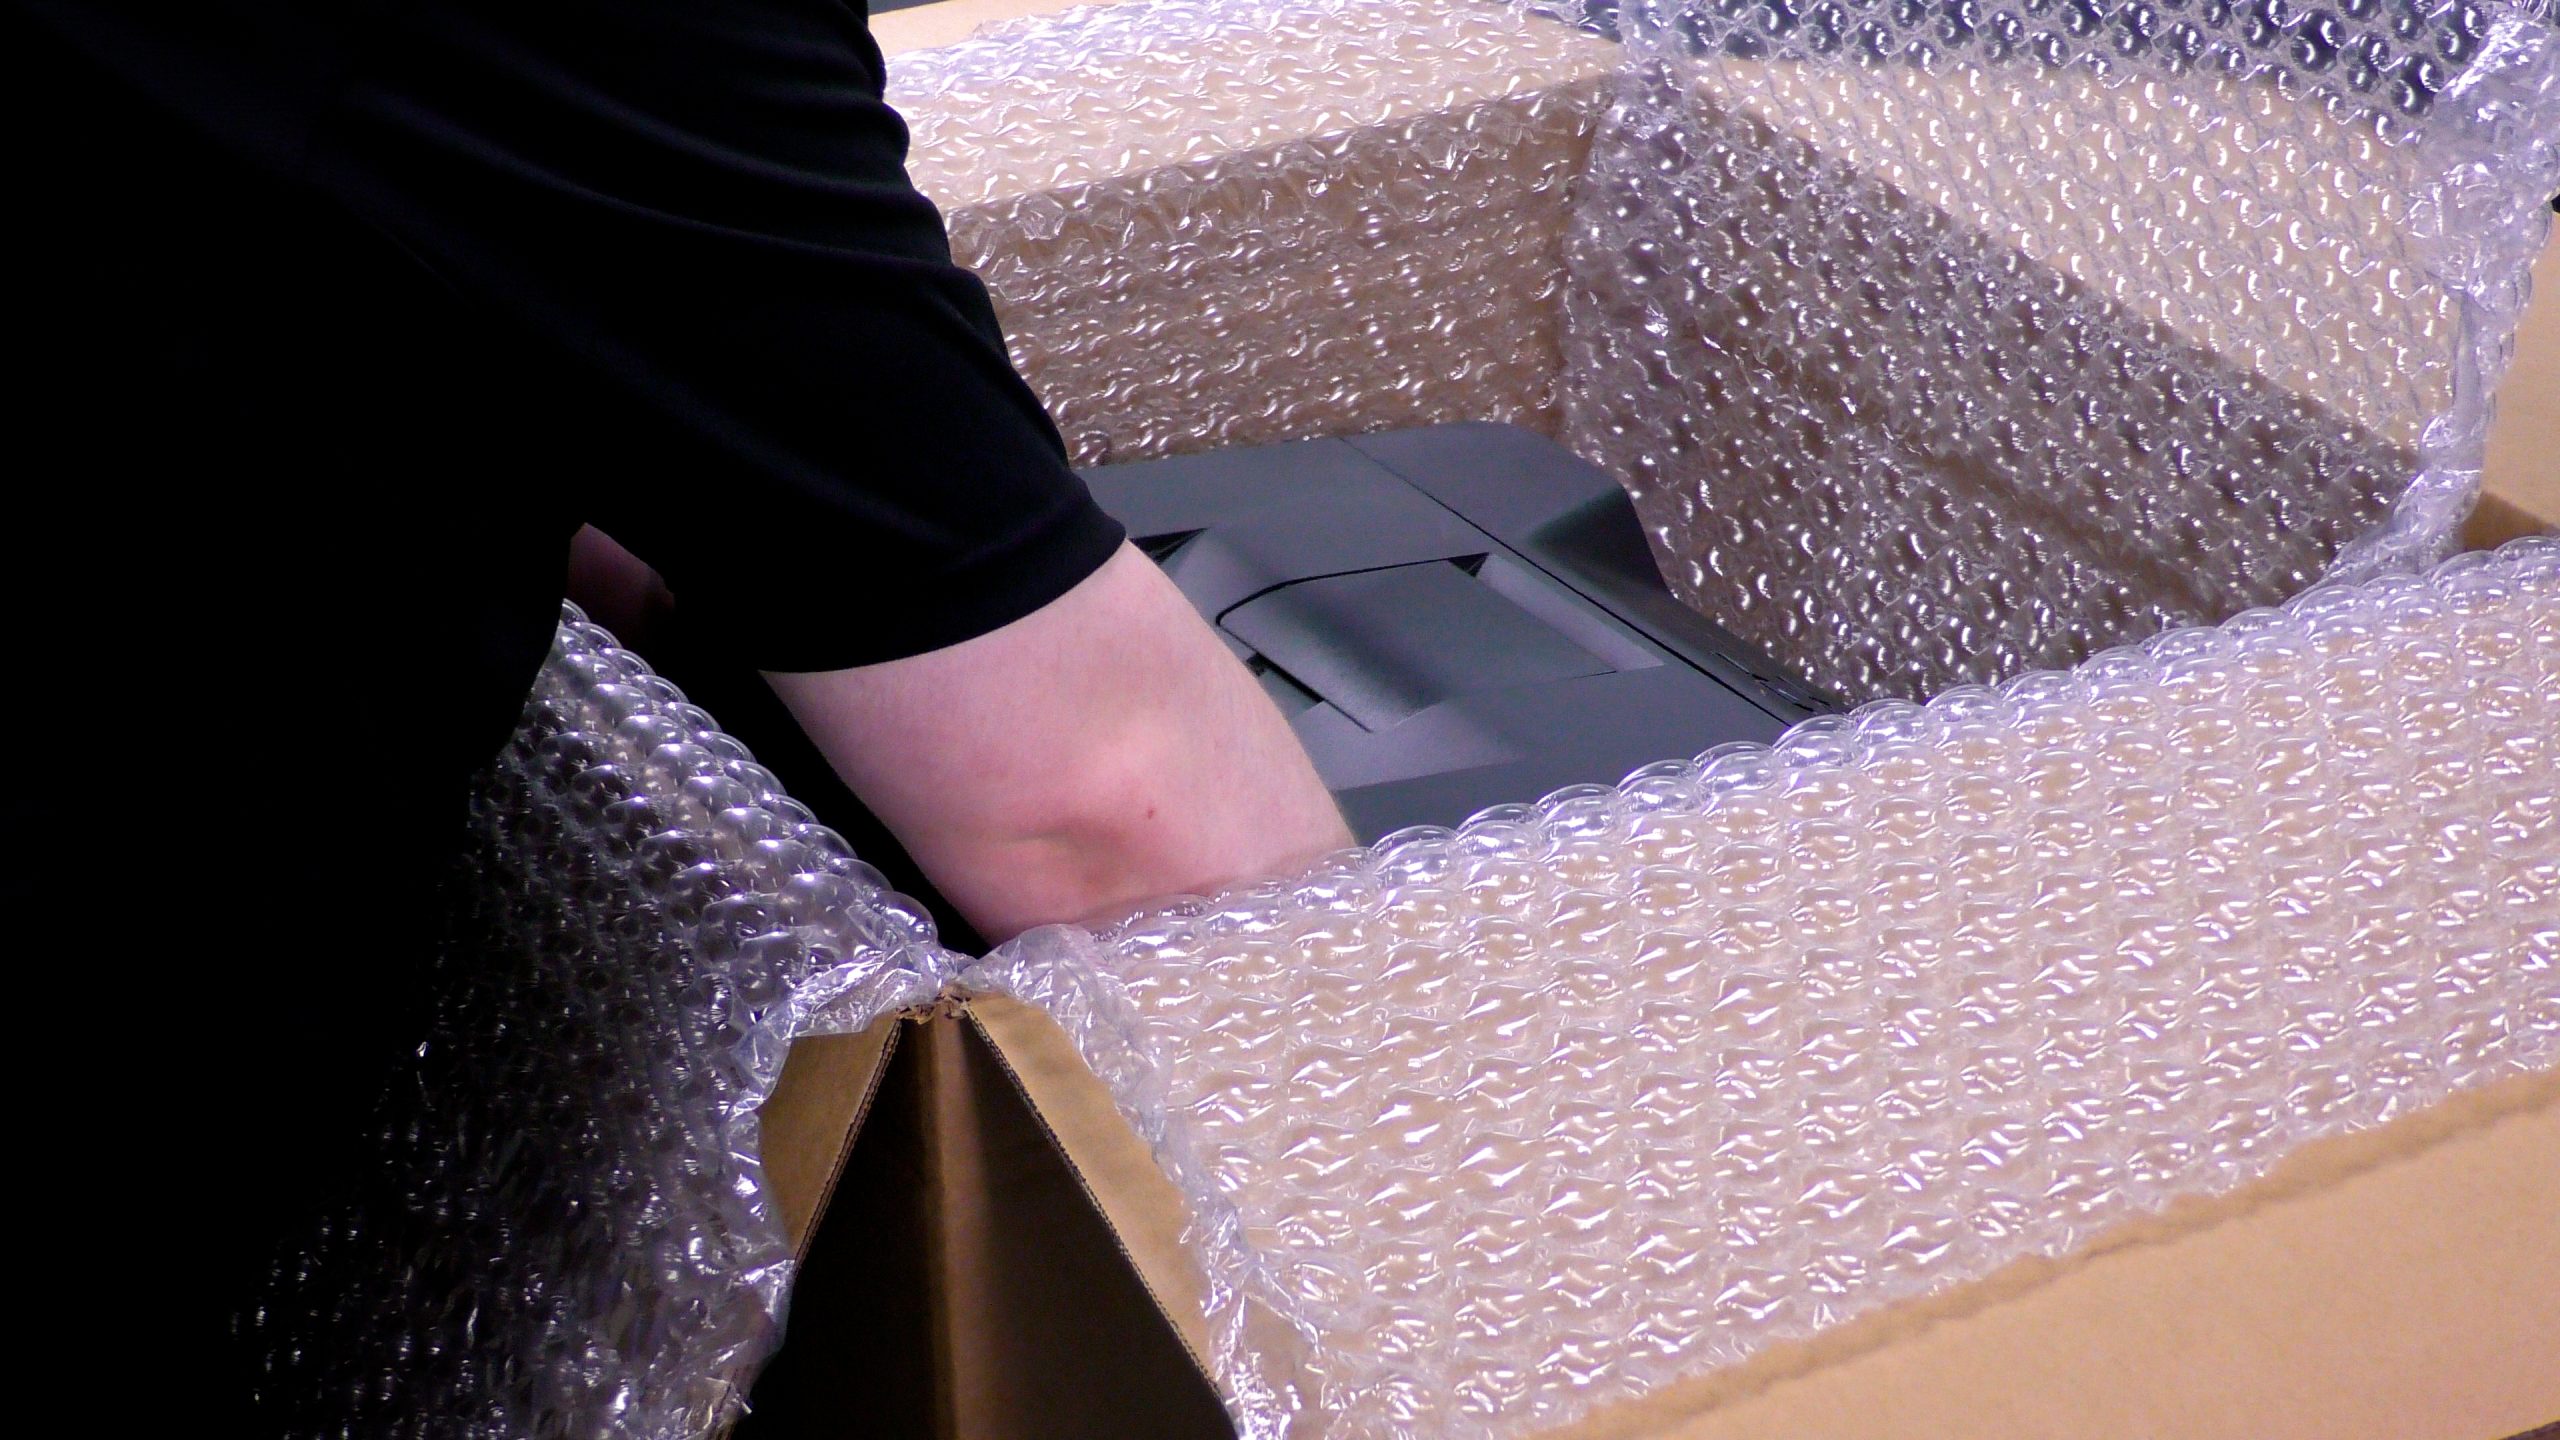
Step 4
Carefully slide the laser printer into the box, until it reaches the bottom. Fold in the excess bubble wrap. Add the toner and power cable into the box.
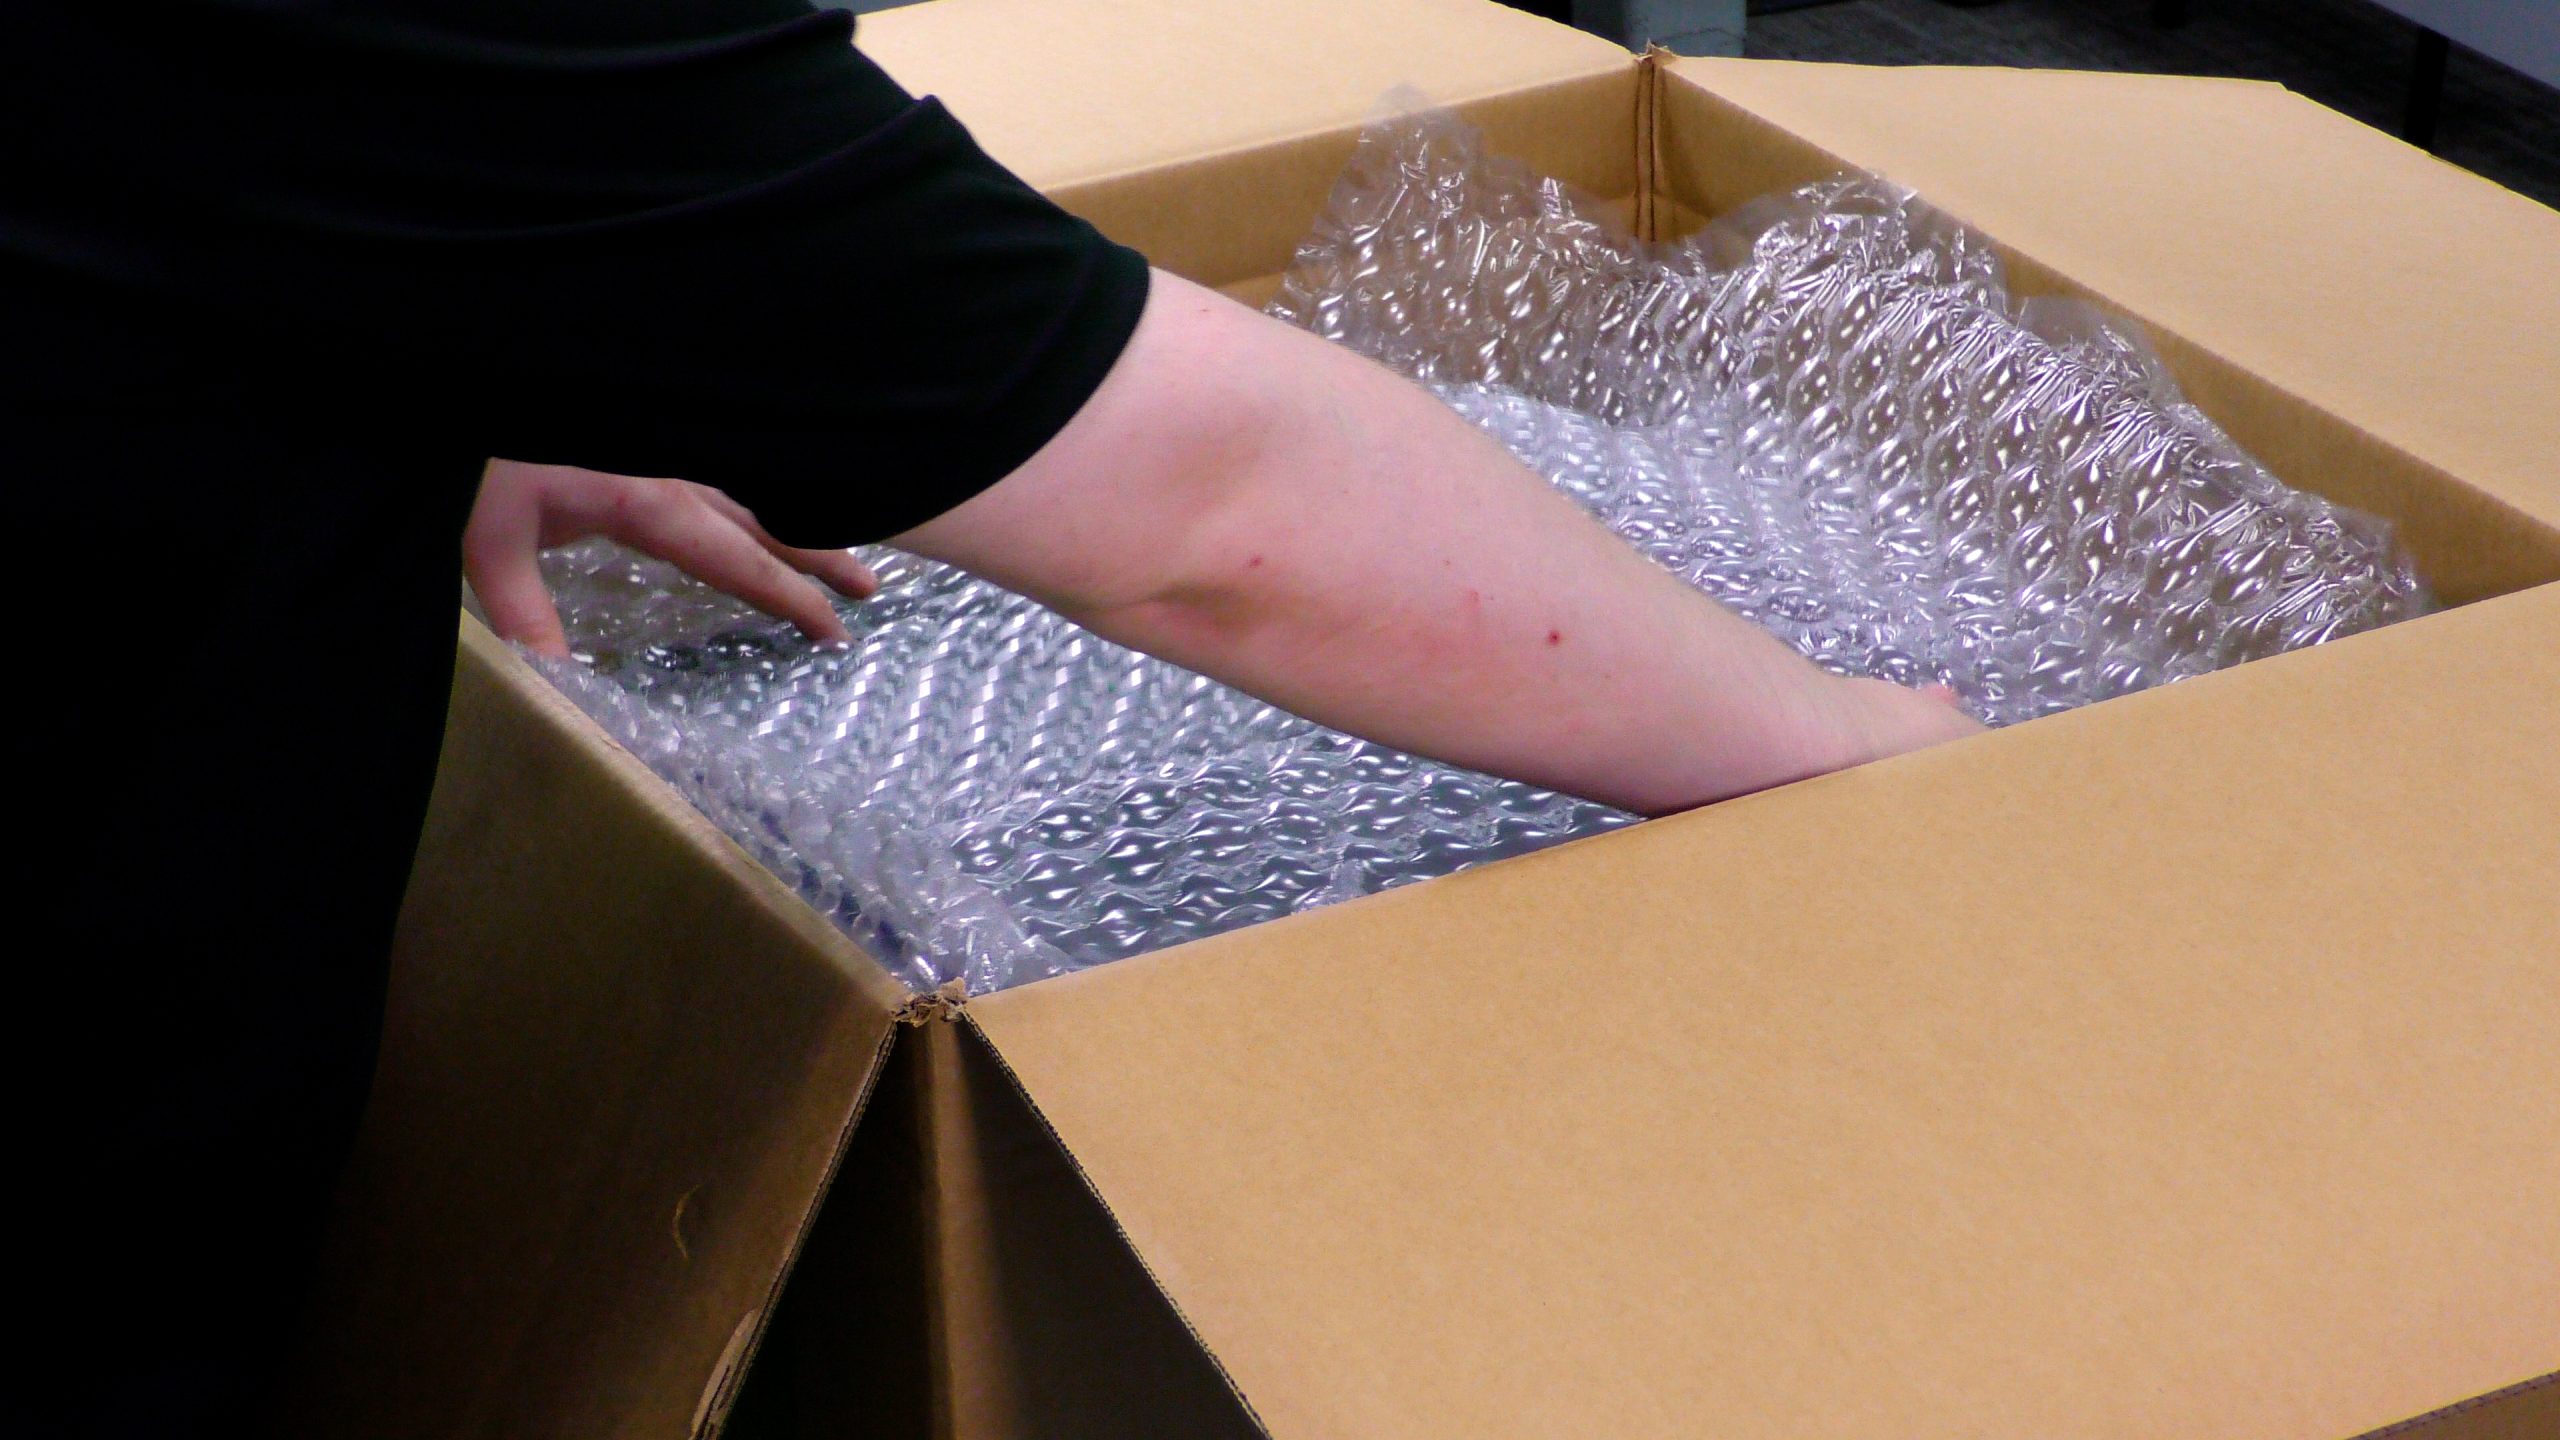
Step 5
Use additional bubble wrap to ensure that nothing inside the package will be moving while it’s in transit. The fit of all components inside the box should be snug.
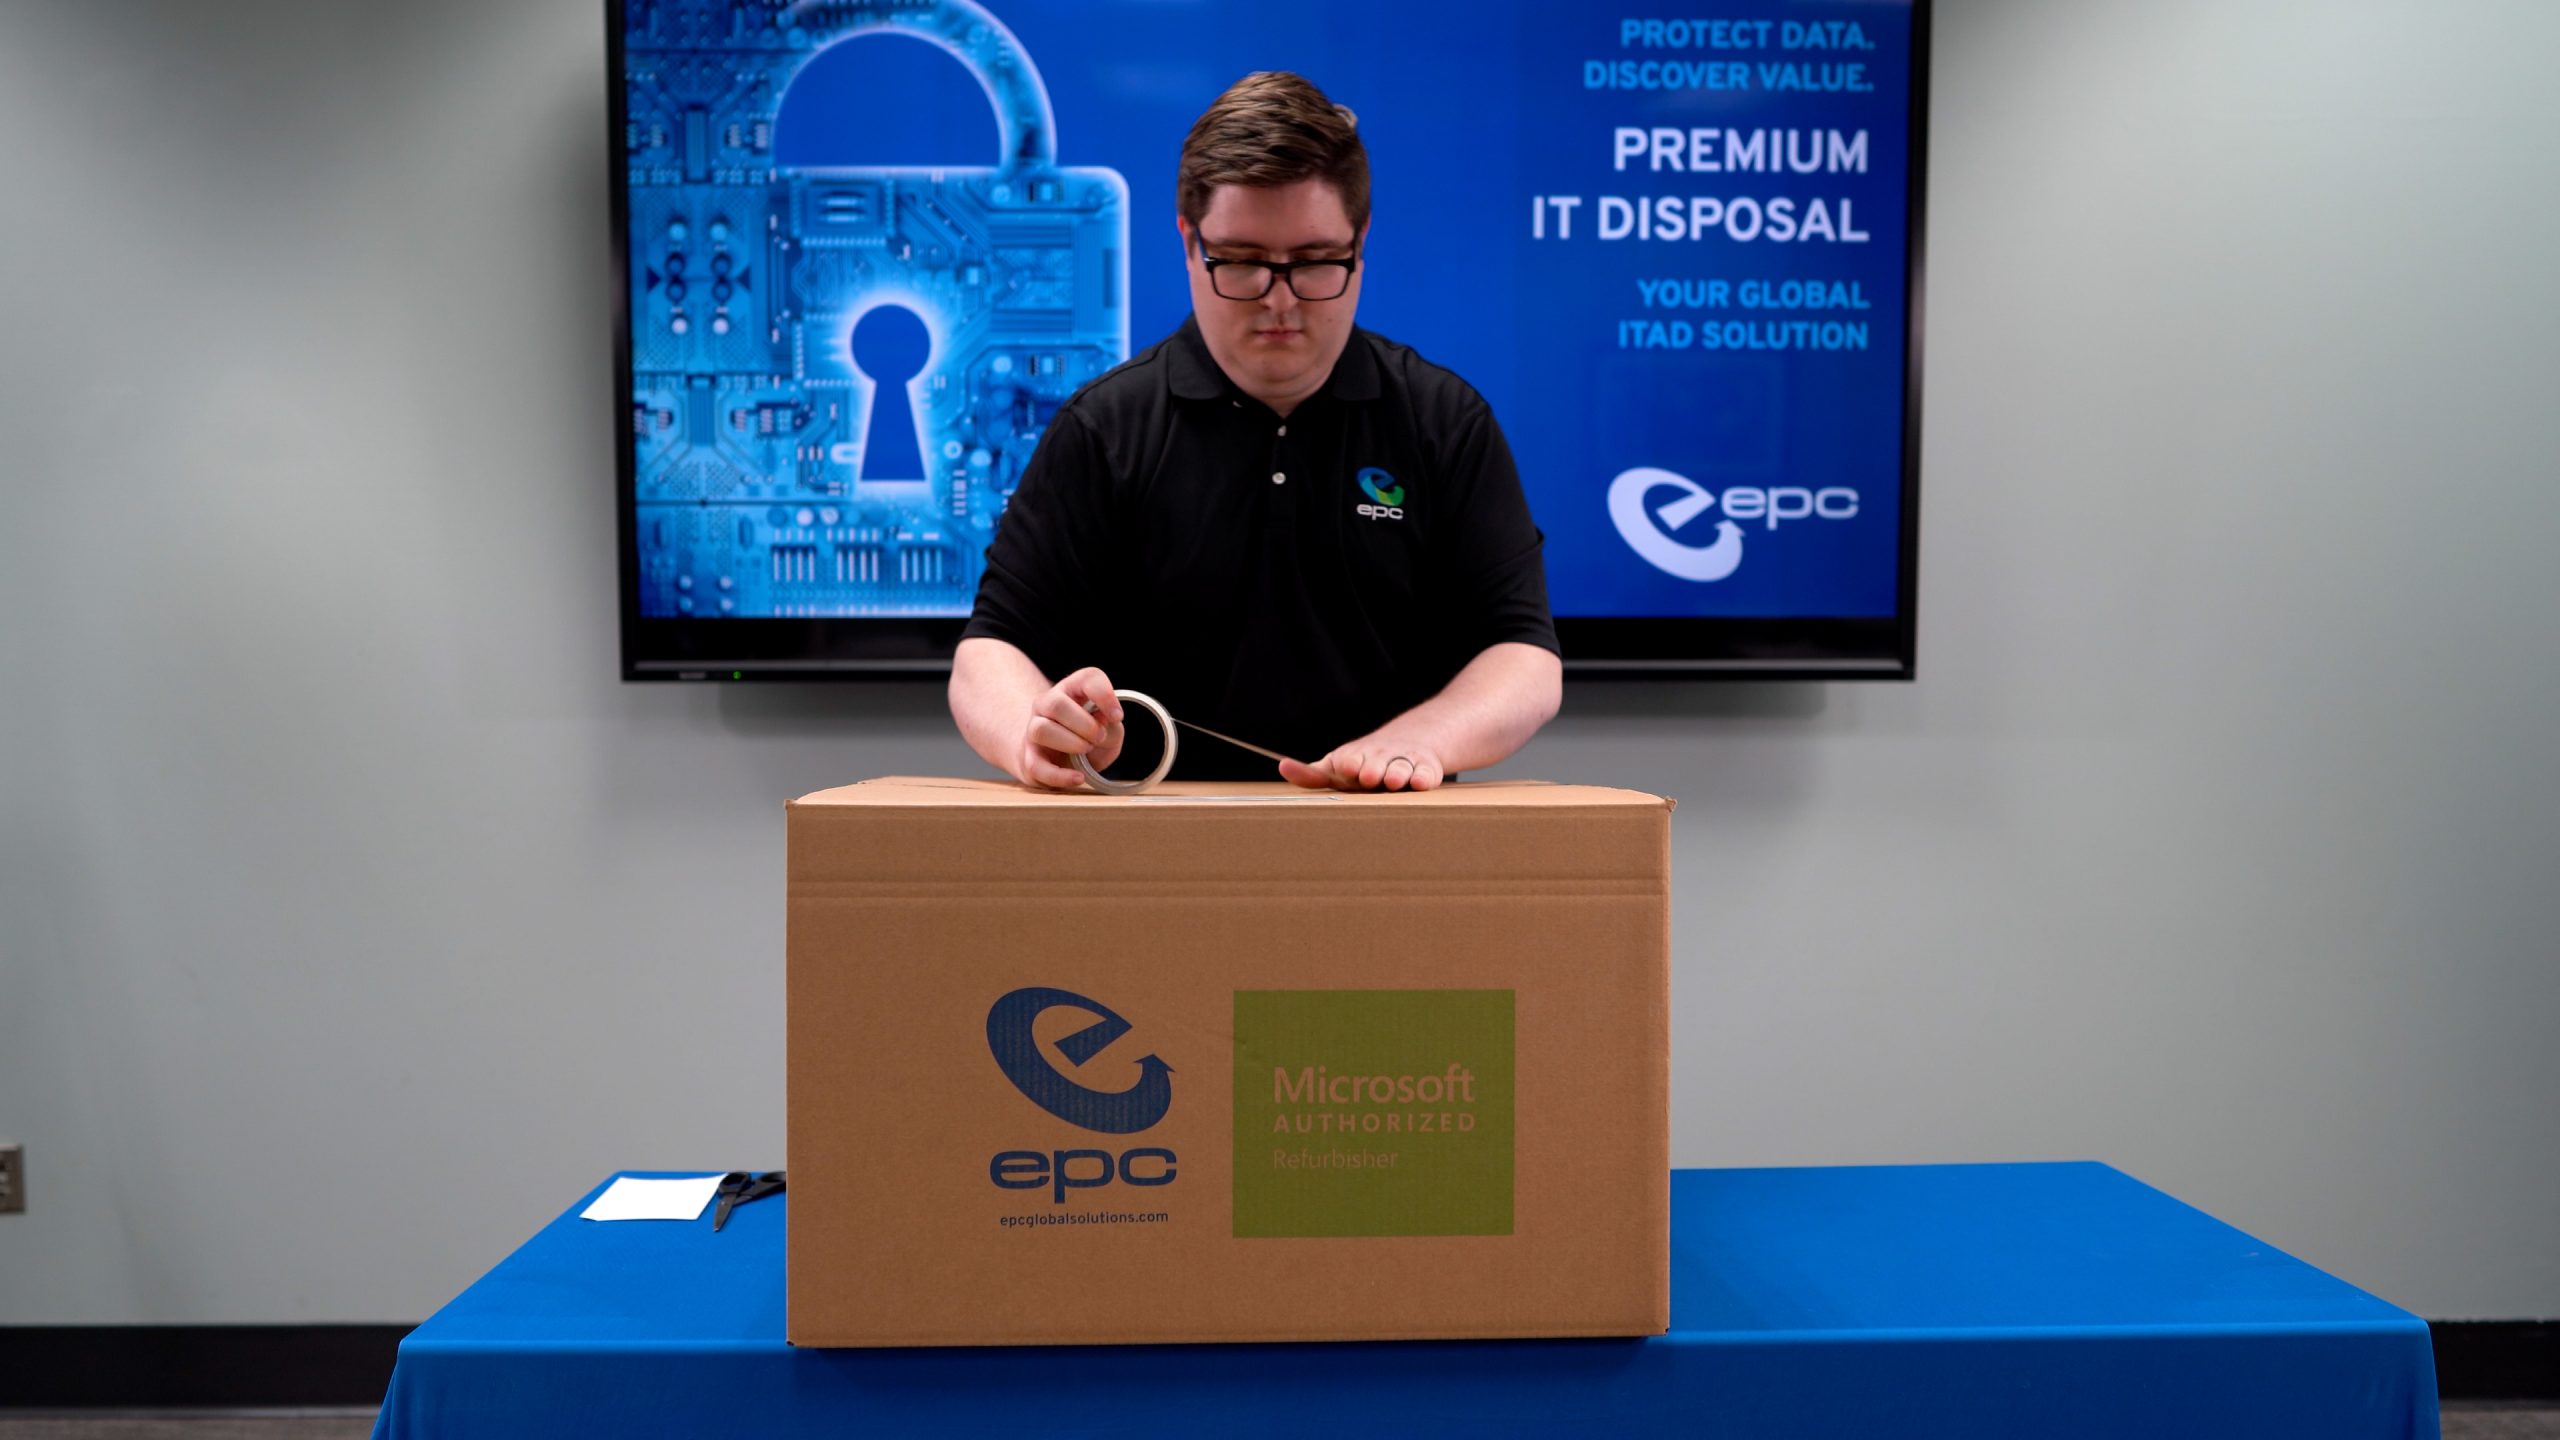
Step 6
Seal the box with provided tape. Once the box is secure, take the provided return shipping label and place it over the existing shipping label on the box. It is important that no part of the previous shipping label is visible.
Your box is ready to be shipped! Use the return options on the sheet included in your package to either schedule a pickup or find a drop-off location.